In this mode, the operator triggers the start and the end of a batch, and enters the quantity produced at the end. To activate it: parameters > Options > Production options > Quantity at end of batch.
1. Start production
Press Start production and select the product from the list.
2. Monitoring during production
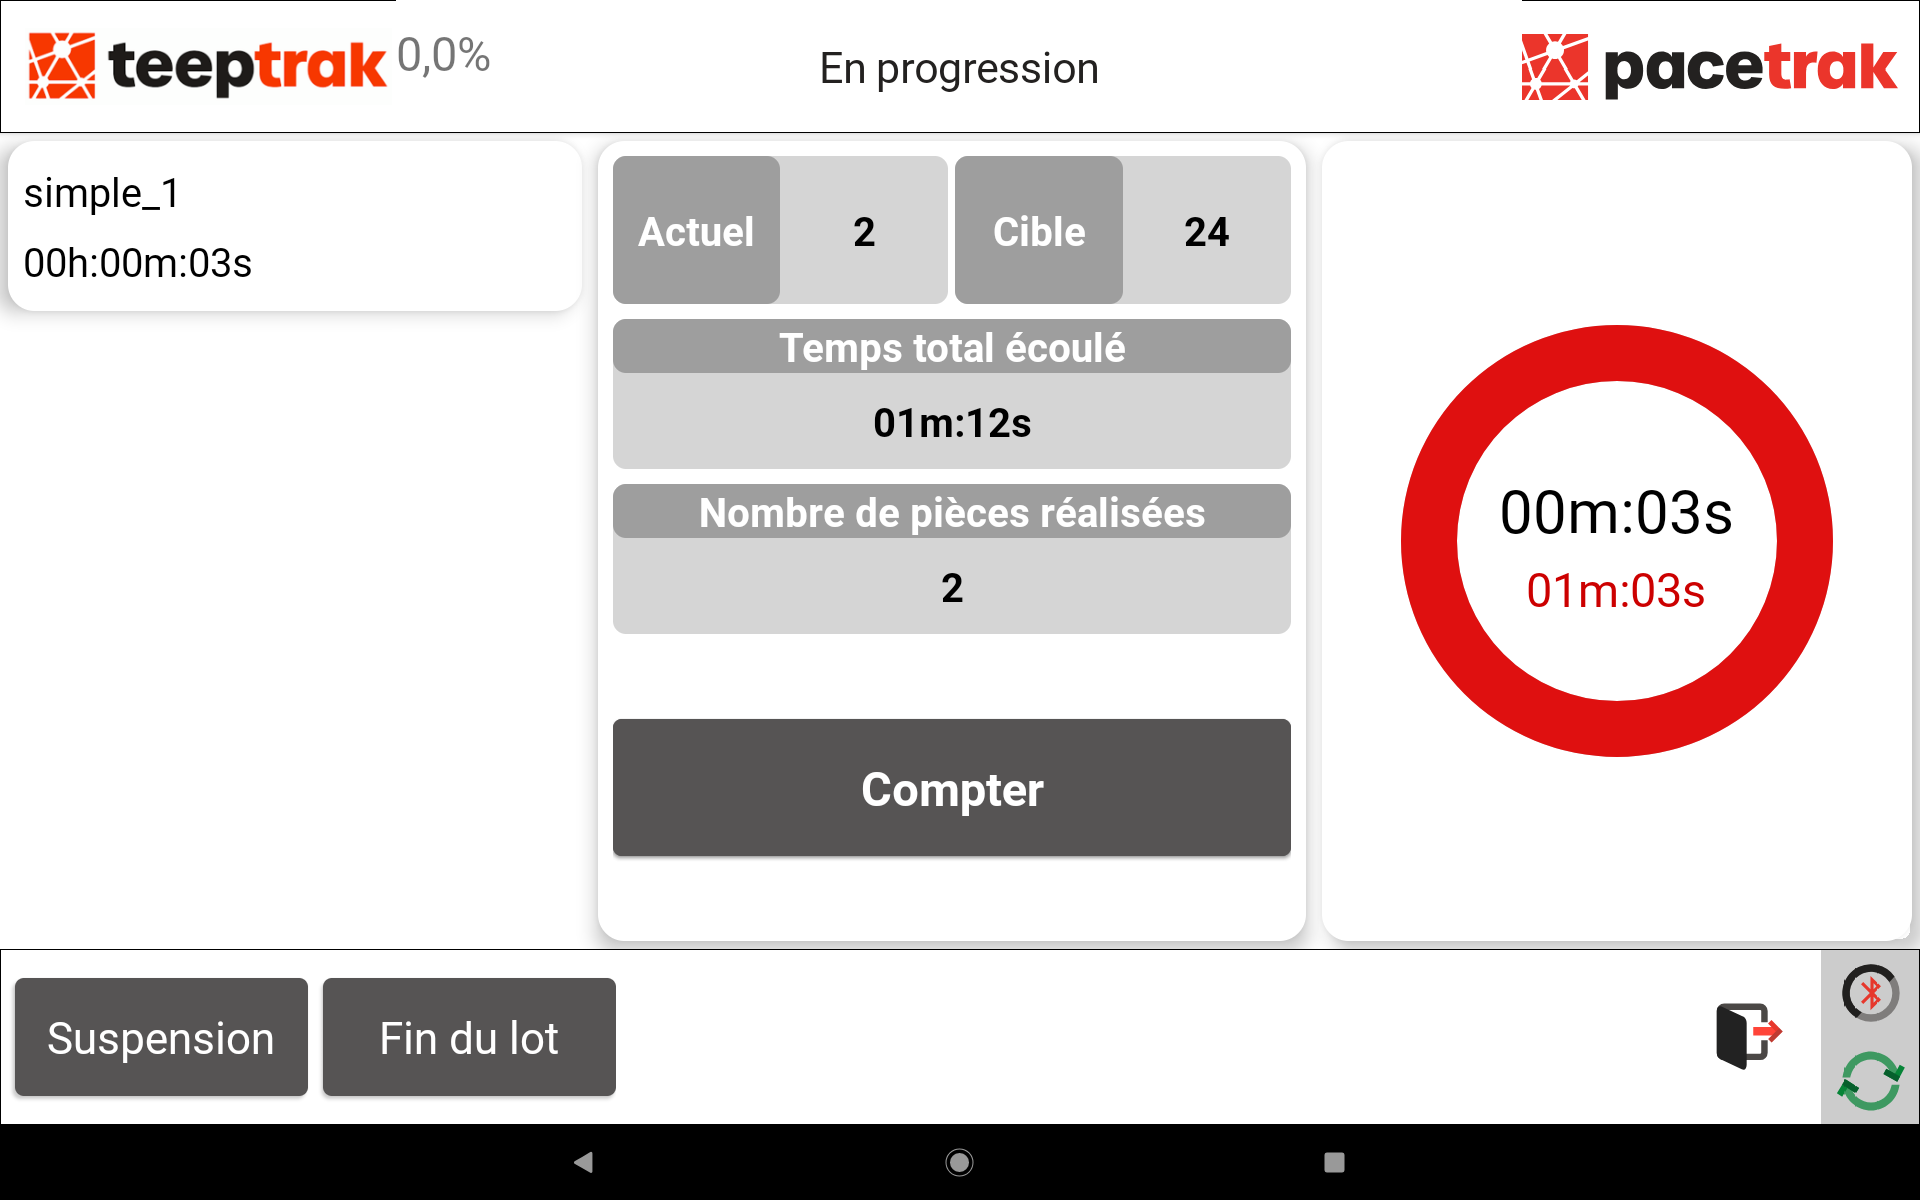
The "In progress" screen displays the routing being produced, the total time elapsed, the number of pieces expected and the cycle timer.
With manual counting, press Count for each piece produced: the screen compares the actual production ("Actual") with the target ("Target").
The circle on the right changes colour according to the variance: green when production is synchronised or ahead, then yellow and red when a delay is detected, with the delay displayed.
3. End the batch
Press End of batch, then confirm. Depending on the configuration, enter the quantity produced or confirm the quantity counted.
4. Entering the root causes of the variances
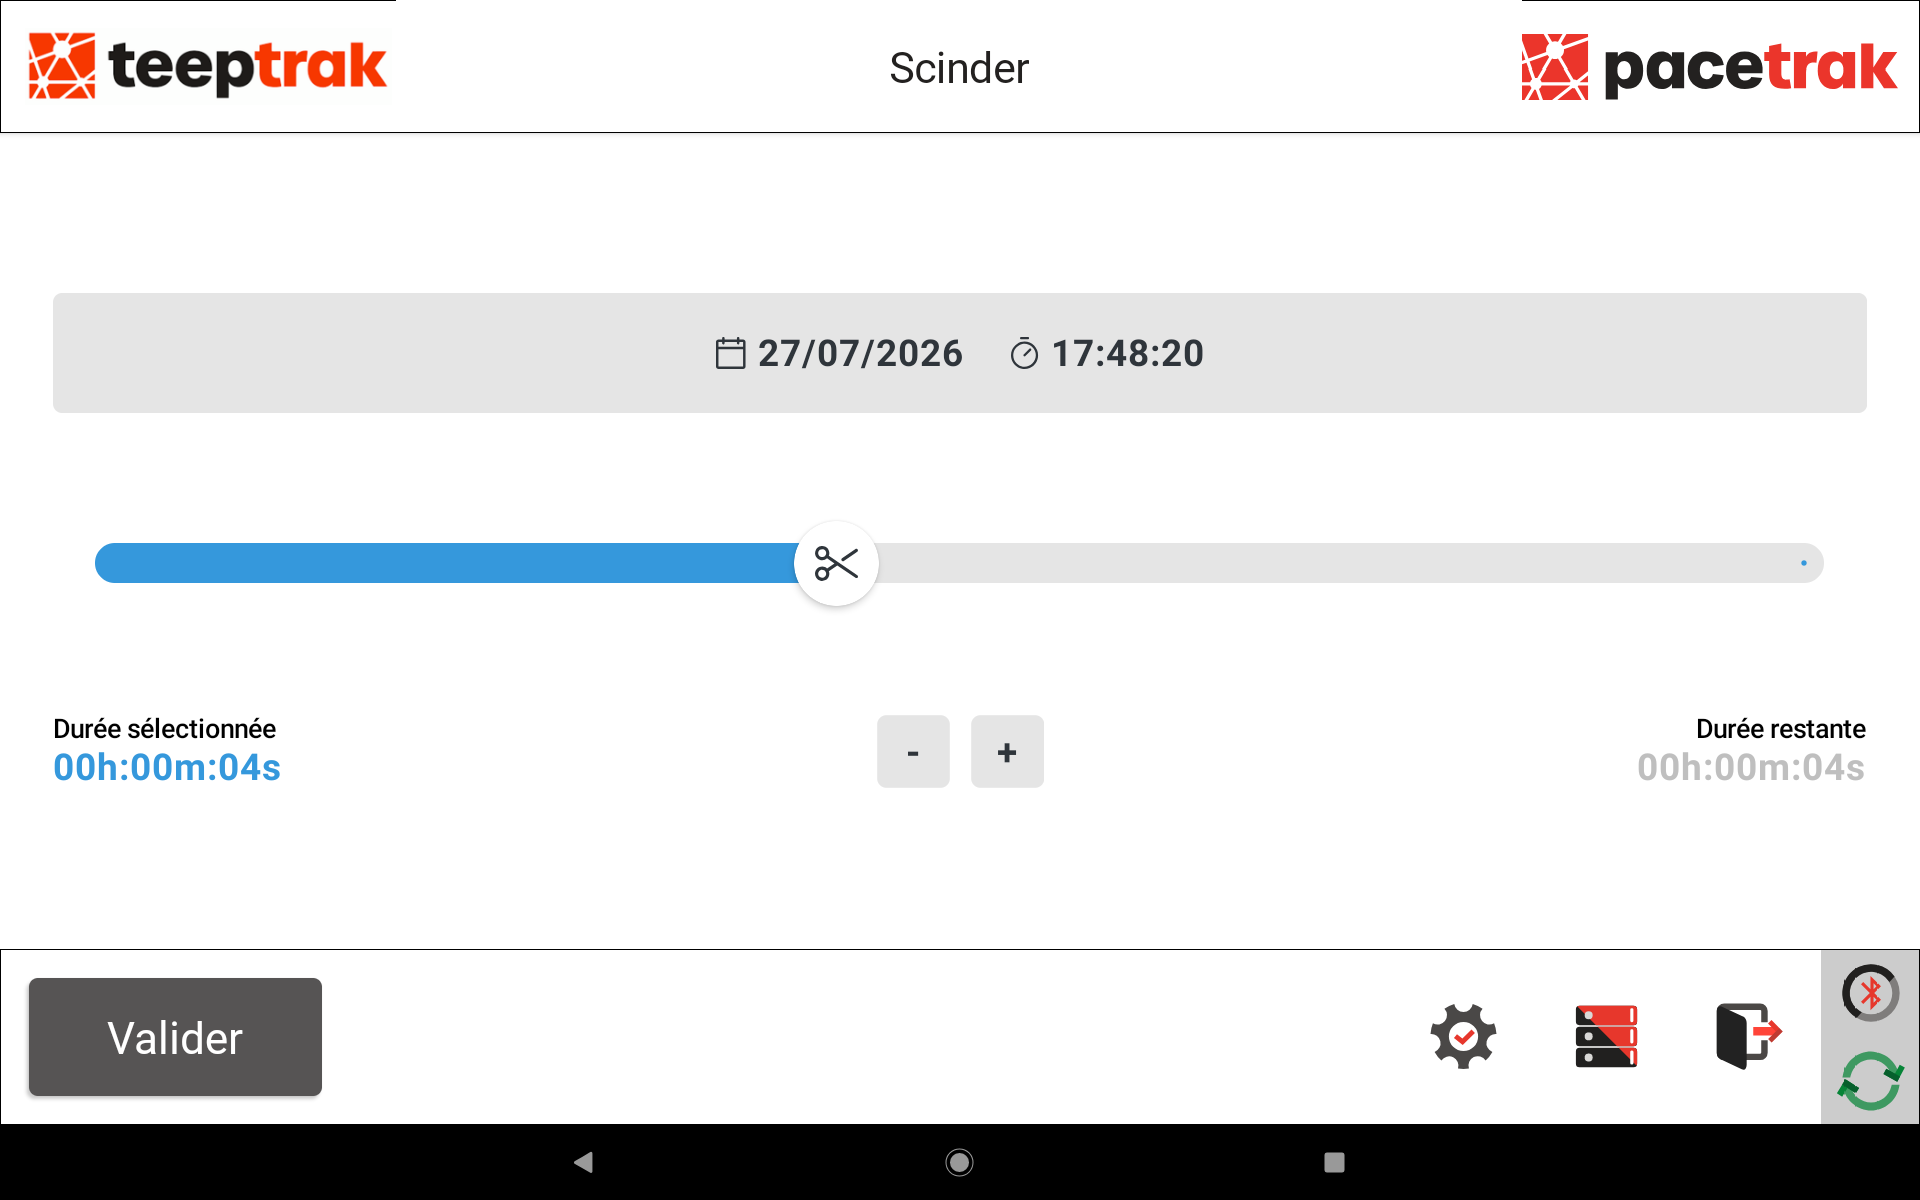
At the end of the batch, the qualification screen is displayed. If the variance has several causes, the Split screen lets you assign only part of the duration to the selected cause: position the cursor (scissors) or adjust it with the − and + buttons. The selected duration is displayed on the left, the remaining duration on the right. Press Validate, then select the level 1 cause among the tiles displayed full screen, then the level 2 cause on the following screen.
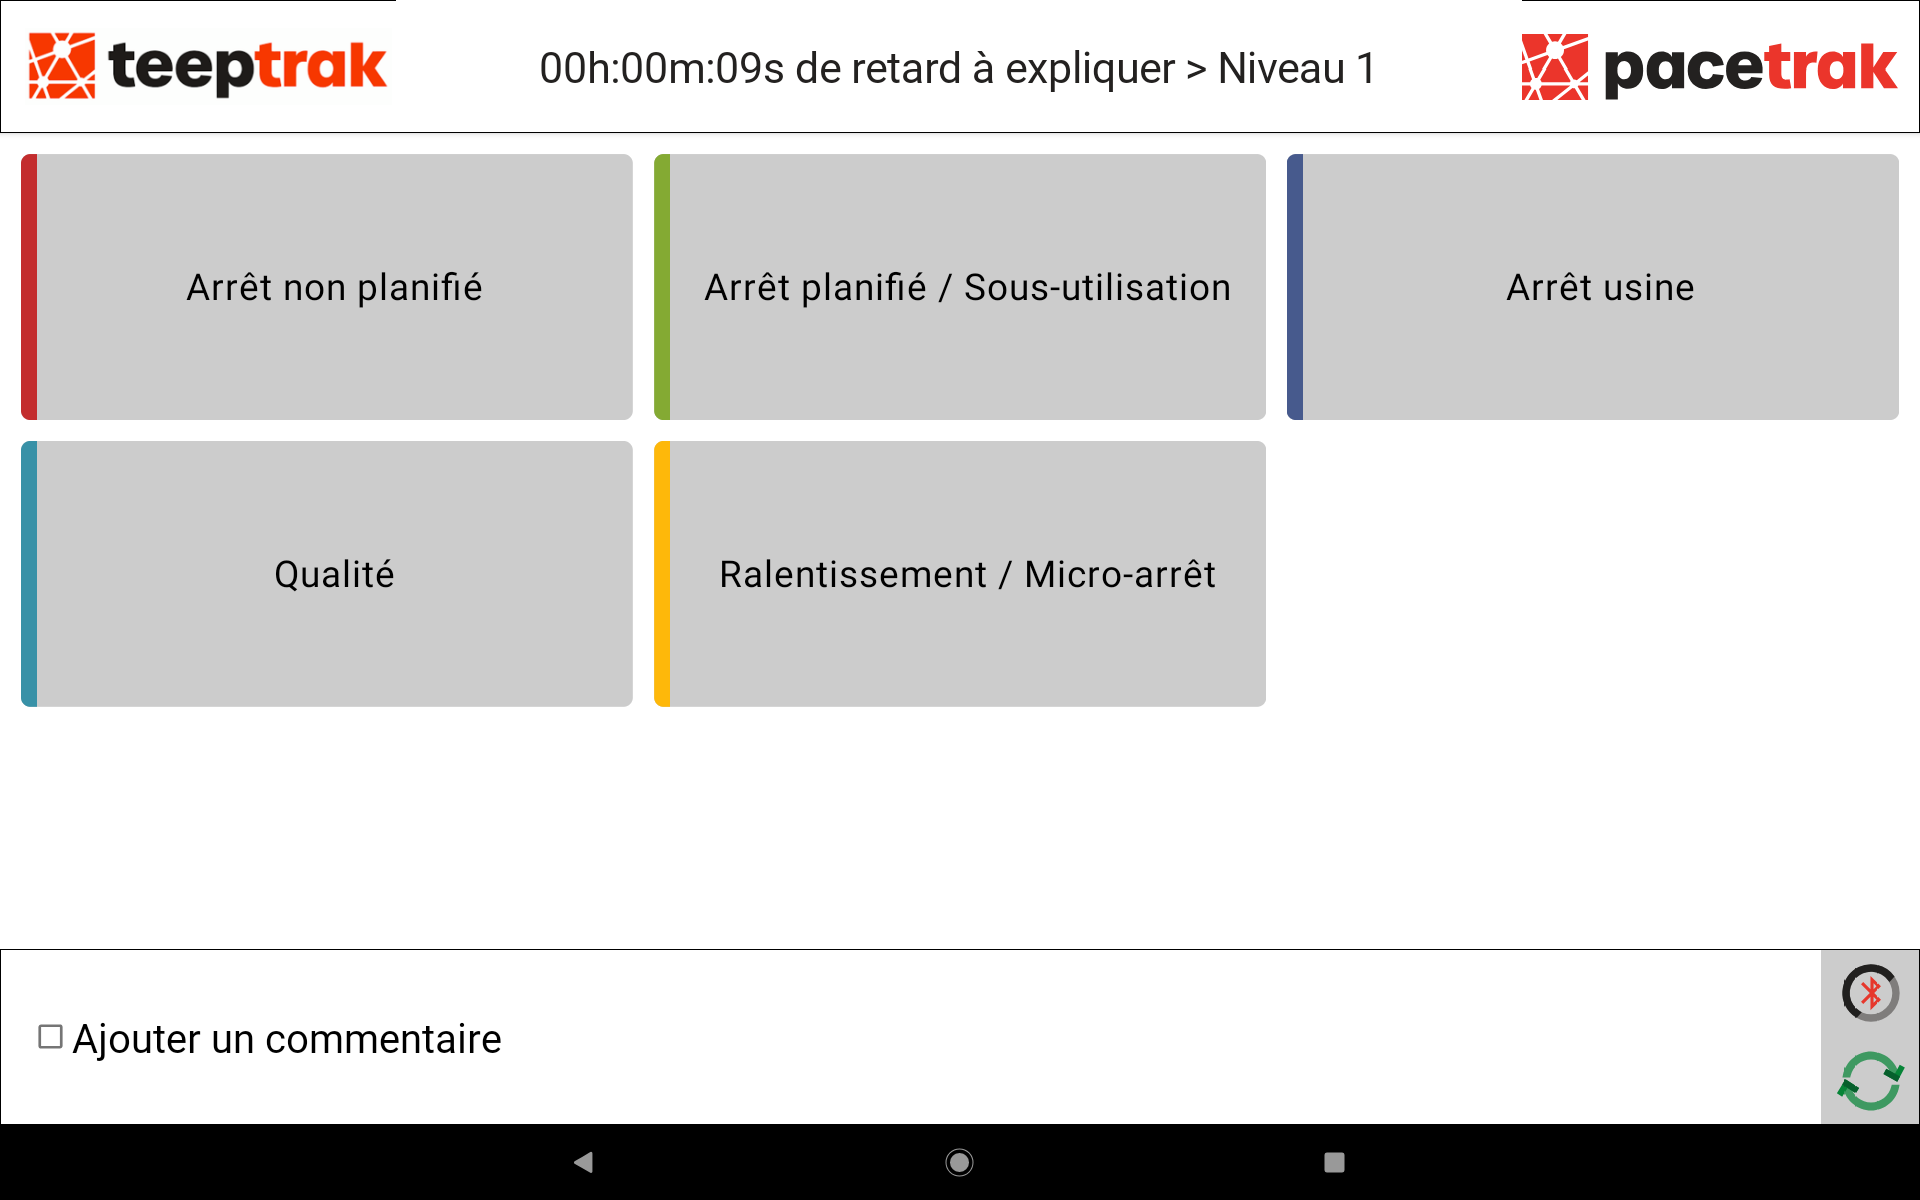
Repeat the selection of causes for the remaining time, until the whole variance has been explained.
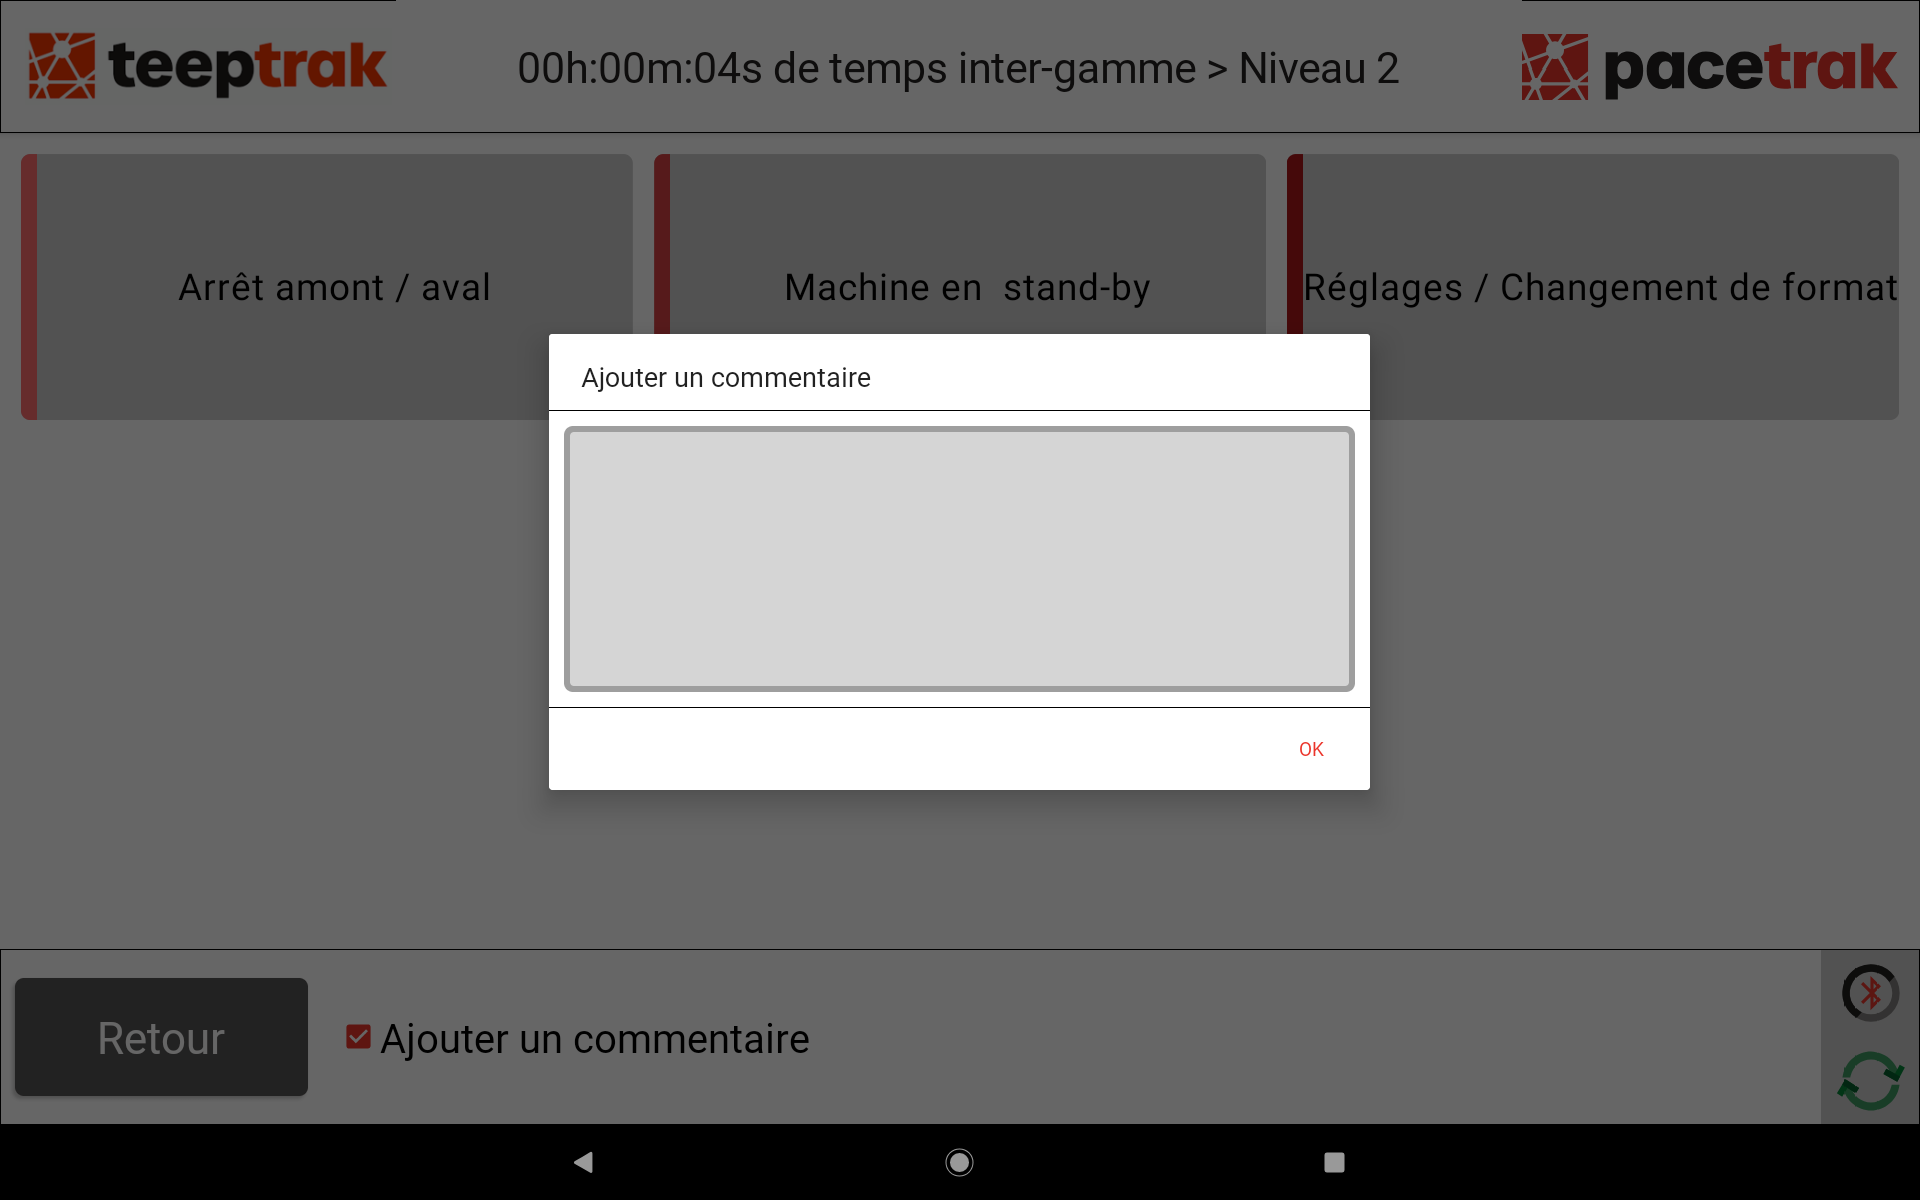
To add context, tick Add a comment at the bottom of the screen: an input window opens once the cause has been selected.
This interface is shared by PerfTrak and PaceTrak since the update of 24 July 2026. It is also used to qualify the inter-routing time.
5. Discarding products (scrap)
When launching a single-task production, you can discard specific products by clicking the green Quality session button.